Implementing a Pre-trained Deep Learning Model to Re-Style Images
by. Jongwon Lee | 182 Views (116 Uniq Views) | about 3 years ago
#OpenCV #ImageProcessing #Python #DeepLearning #AI
Explains how to use a pre-trained model to perform image processing.
Writing in Progress
Related Articles:
- Perceptual Losses for Real-Time Style Transfer and Super-Resolution https://cs.stanford.edu/people/jcjohns/papers/eccv16/JohnsonECCV16.pdf
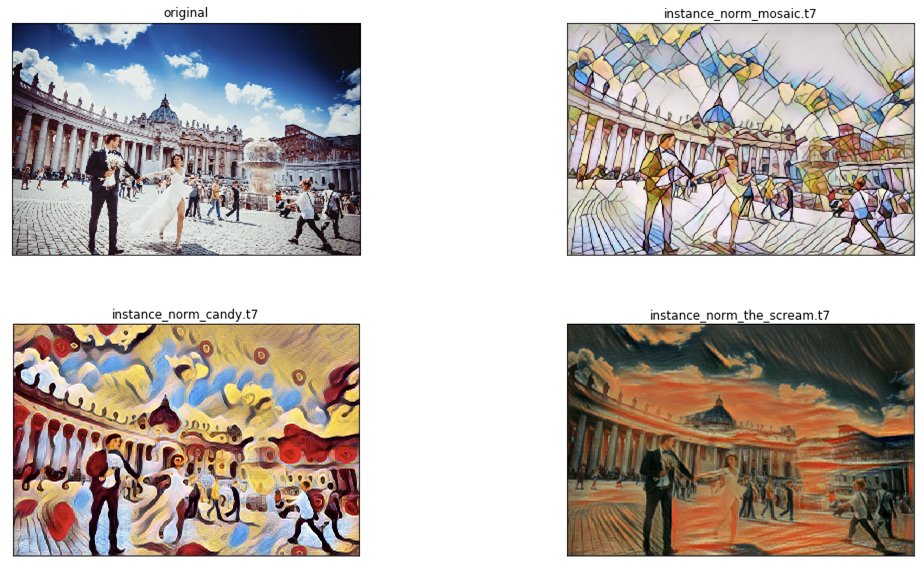
- Instance Normalization: The Missing Ingredient for Fast Stylization https://arxiv.org/pdf/1607.08022.pdf
Why do we use it?
It is a long established fact that a reader will be distracted by the readable content of a page when looking at its layout. The point of using Lorem Ipsum is that it has a more-or-less normal distribution of letters, as opposed to using 'Content here, content here', making it look like readable English. Many desktop publishing packages and web page editors now use Lorem Ipsum as their default model text, and a search for 'lorem ipsum' will uncover many web sites still in their infancy. Various versions have evolved over the years, sometimes by accident, sometimes on purpose (injected humour and the like).
import cv2
import numpy as np

net = cv2.dnn.readNetFromTorch('models/eccv16/starry_night.t7')

img = cv2.imread('imgs/01.jpg')

h, w, c = img.shape

img = cv2.resize(img, dsize=(500, int(h / w * 500)))

MEAN_VALUE = [103.939, 116.779, 123.680]
blob = cv2.dnn.blobFromImage(img, mean=MEAN_VALUE)

net.setInput(blob)
output = net.forward()

output = output.squeeze().transpose((1, 2, 0))

output += MEAN_VALUE
output = np.clip(output, 0, 255)
output = output.astype('uint8')

cv2.imshow('img', img)
cv2.imshow('result', output)
cv2.waitKey(0)